Showing posts with label patchwork quilt. Show all posts

Sunday, 10 May 2026

Birds and chairs

A bit of a random title for this post, but there we are.  We have had a new visitor to the bird feeder recently.  While a goldfinch may not be unusual for many of you, it is for us.  We have mainly sparrows, the occasional blue tit and I think there may have been a great tit once.  However, not a goldfinch!  
I have been really excited each time I have spied him/her! (apologies for the washing line cutting straight through the photo - I was taking this from the sitting room window and had to zoom in). I hope I continue to see him/her.
In other news, I have eventually finished a major sewing project.  A few months ago, I was looking for a large patchwork blanket or something similar to cover my very boring brown chair.  I am not a 'brown chair' person - I like colour.  I couldn't find anything that appealed to me, so thought I would make a patchwork blanket myself, using my large stash of fat quarters and other material.  This has turned into a major project, requiring many hours of work, quite a bit of unpicking and the use of my sister-in-law's kitchen table and her floor on several occasions as it required a big space when I was sewing it together and then quilting it. It is the biggest sewing thing I have attempted!  It also turned into a chair cover, rather than a blanket, and this necessitated looking up how to bind inner corners. (It would probably have been easier to make a big quilt blanket, but that would have been even more difficult to manage!) 
It has also turned into quite an expensive cover as I had to buy the wadding and a bigger piece for the backing.  However, it is finished!  The inner corners didn't work that well as my cutting and sewing was not as precise as it should have been, but as I am the only one judging it and the 'Quilt Police' are not going to call round any time soon, I think I can live with it! 
It has lots of lovely colours and patterns and makes me much happier than the brown cover.  Of course, it is now somewhat obscured by the cat blanket (as he has decided this is his chair - rude!), but I know it is there.  It will cover any chairs I may have in the future too, so all my hard work was worth it!

Saturday, 1 June 2019

A quilt for Scruffy

As you know, Scruffy decided that my patchwork lap quilt would make a perfect bed for him.  As I was hoping to use the quilt, (after all, that's why I made it) I didn't really want him taking possession of it.  Chris said "You know you'll have to make him one now", so I did.
 I used pre-cut squares (although they weren't actually that accurately cut) from my rather large material stash and managed to make it over a weekend.  It would have been quicker except I originally used some of the backing fabric as part of the binding and it was too heavy and frayed too much, so it had to come off.  I then had to make more binding. 
Anyway, I think His Majesty likes the finished result.
Yes, he likes it!

Thursday, 16 May 2019

Finished - at last!

Here is my patchwork quilt, almost finished and ready for binding.  I don't know how people manage to quilt a big quilt on a domestic sewing machine because I did struggle fitting this small quilt through, even though I rolled it up and everything! (Many choice words were muttered under my breath!) The walking foot was brilliant with the straight line quilting and I was pleased with the result.
 Here's the back, ready for binding.
 Someone (I'm looking at you, Scruffy!) decided that the quilt would make an extremely comfortable bed.
 No, he wasn't going to move...at all!
The binding went remarkably smoothly, owing to my little Accuquilt Go Baby machine which cut beautiful straight strips for me.  So, here's the finished quilt (I need a drum roll or something).
Hmm...I was trying to artistically drape the quilt over the wall, but it just looks a bit crumpled.
 Here it is laid out on the sitting room floor.
Here's the back.  Choosing a nice patterned material disguises any wobbly stitching lines.
So, what have I learnt from this project?
  • I don't like rotary cutting, which is a real skill.  If you don't cut accurately, you can't sew accurately.  This may well curtail any thoughts I had about attempting other quilts
  • I would not want to attempt to quilt anything bigger than this quilt myself. (It is about 32 inches square)
  • I like using the Accuquilt cutting machine
  • I enjoyed making and sewing the binding on
  • I still like the materials used in this quilt
  • I am not a perfectionist, which is a slight disadvantage with quilt making.  I am much more of the 'oh, that'll do' school of sewing 
  • I may attempt another quilt one day, using strips, but won't be quilting it myself, unless it is by hand
The biggest positive is that I am proud of myself for completing this project, my first patchwork quilt, and on the whole, I am pleased with the end result.

Sunday, 28 April 2019

Progress with the patchwork

I have made progress with my first ever patchwork quilt.  I have completed the top and will now need to create the quilt sandwich with wadding and backing fabric, before quilting the layers together.  I do like the material, which has been the saving grace for this project.  I still do not like using a rotary cutter (however, I did find that if I slowed down and took my time, I did get marginally better results).  In the end, I cut card templates for the squares and rotary cut around them, but they were still far from perfect.
I have decided that I am not going to worry about whether the seams line up (they don't) and am just going to celebrate the fact that I have made this!
I am looking forward to cutting the binding strips but this is because I have an Accuquilt Go Baby fabric die cutting machine which will ensure perfect strips every time.  I may make another quilt, but just using the strips...

Saturday, 9 March 2019

I don't like rotary cutting but I do like alcohol inks

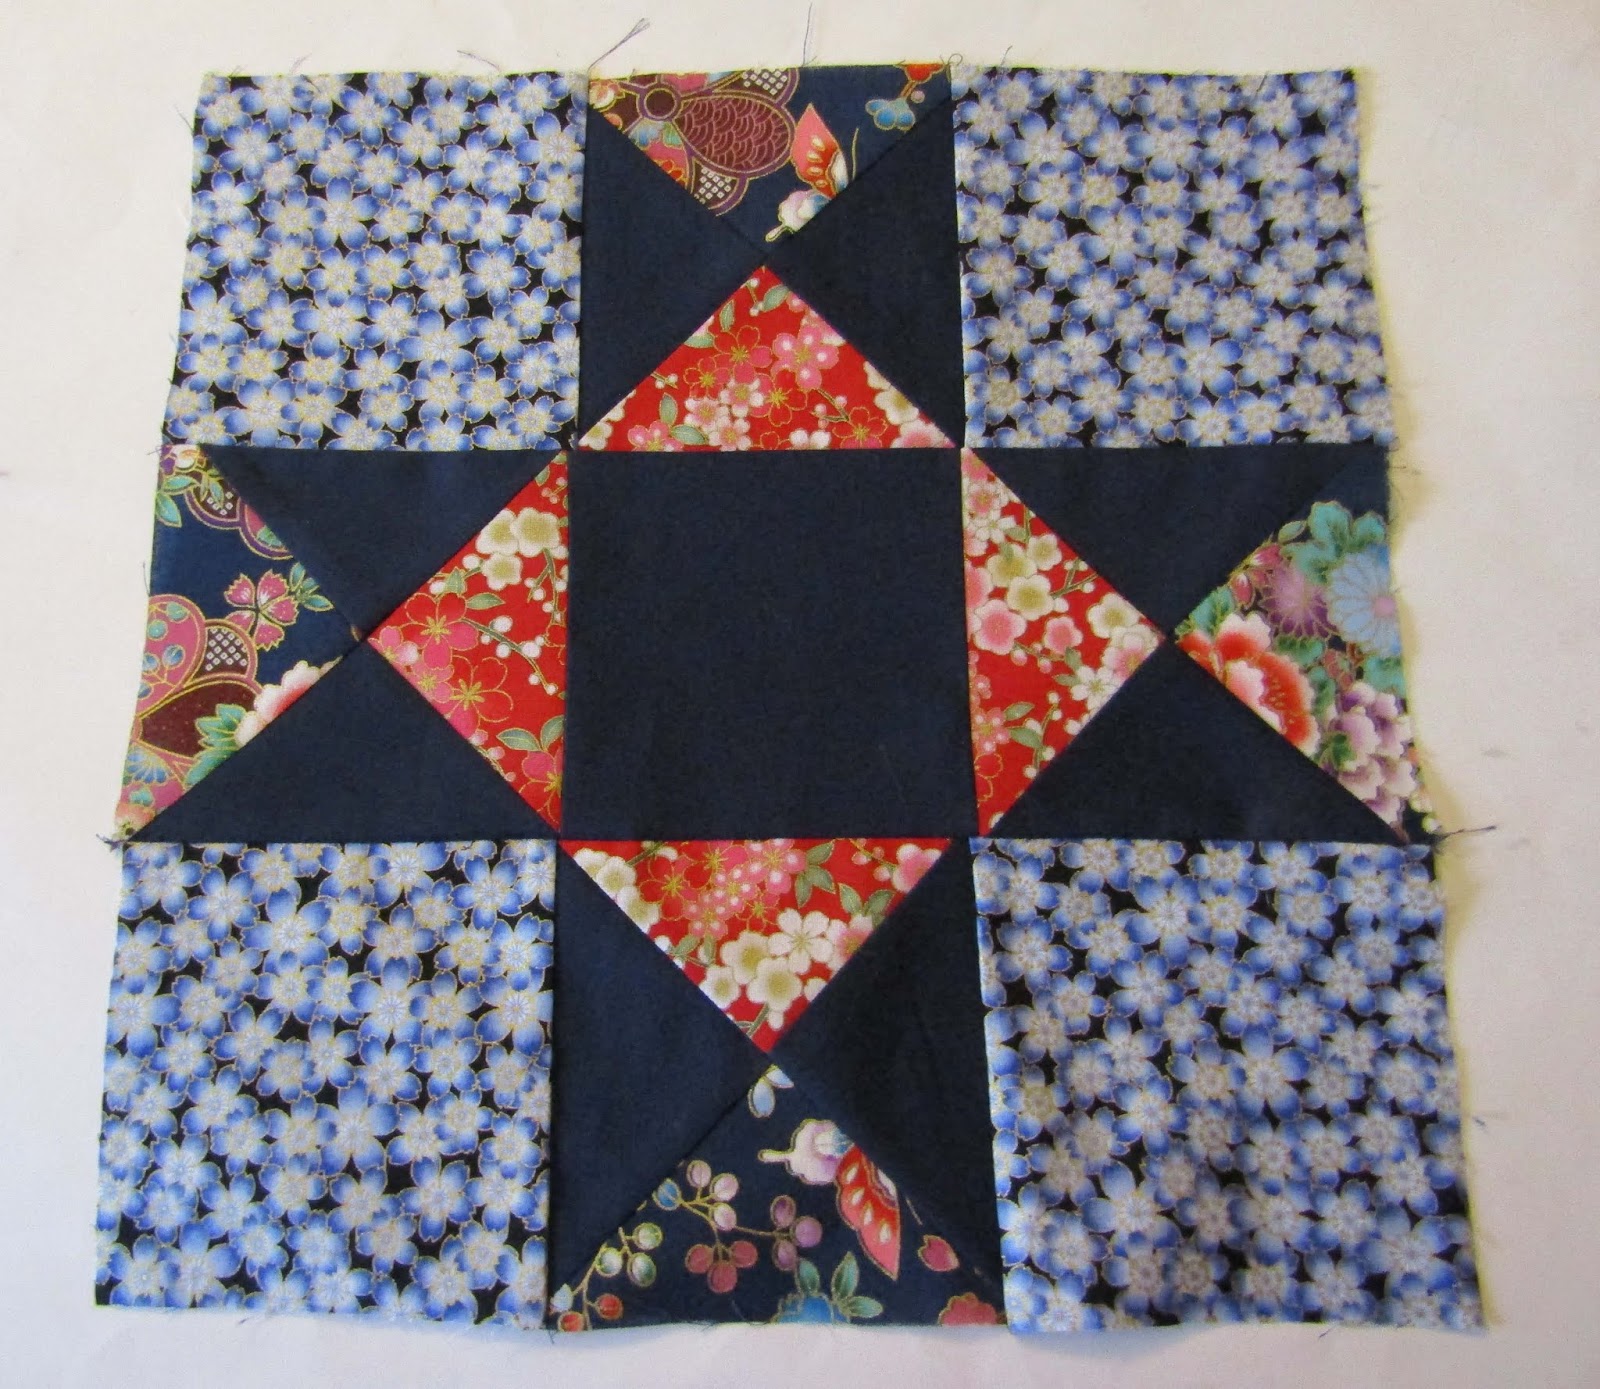
 I have completed the 'Ohio Star' block from the pattern for my first ever patchwork quilt.  I discovered several things from this experience:
1.   I do not like using a rotary cutter.  My ruler kept slipping on the fabric and so I knew that as my cutting was not accurate in the slightest, there was not a hope of my seams lining up, and so it proved to be.
2.   The navy blue contrast material had a surprising amount of stretch in it, which was not helpful when I needed to cut squares diagonally to make half square triangles.
3.   The pattern, although it says it is suitable for a beginner, in my view is a little more challenging than that as it requires quite a bit of rotary cutting (see point 1).
4.    I shall stick to using pre-cuts or jelly rolls for future projects.  (This will remove the issue of point 1).
5.   I shall finish this project as it is a good learning experience, but it will not be perfect in any way.  However, I will still be proud because I made it!
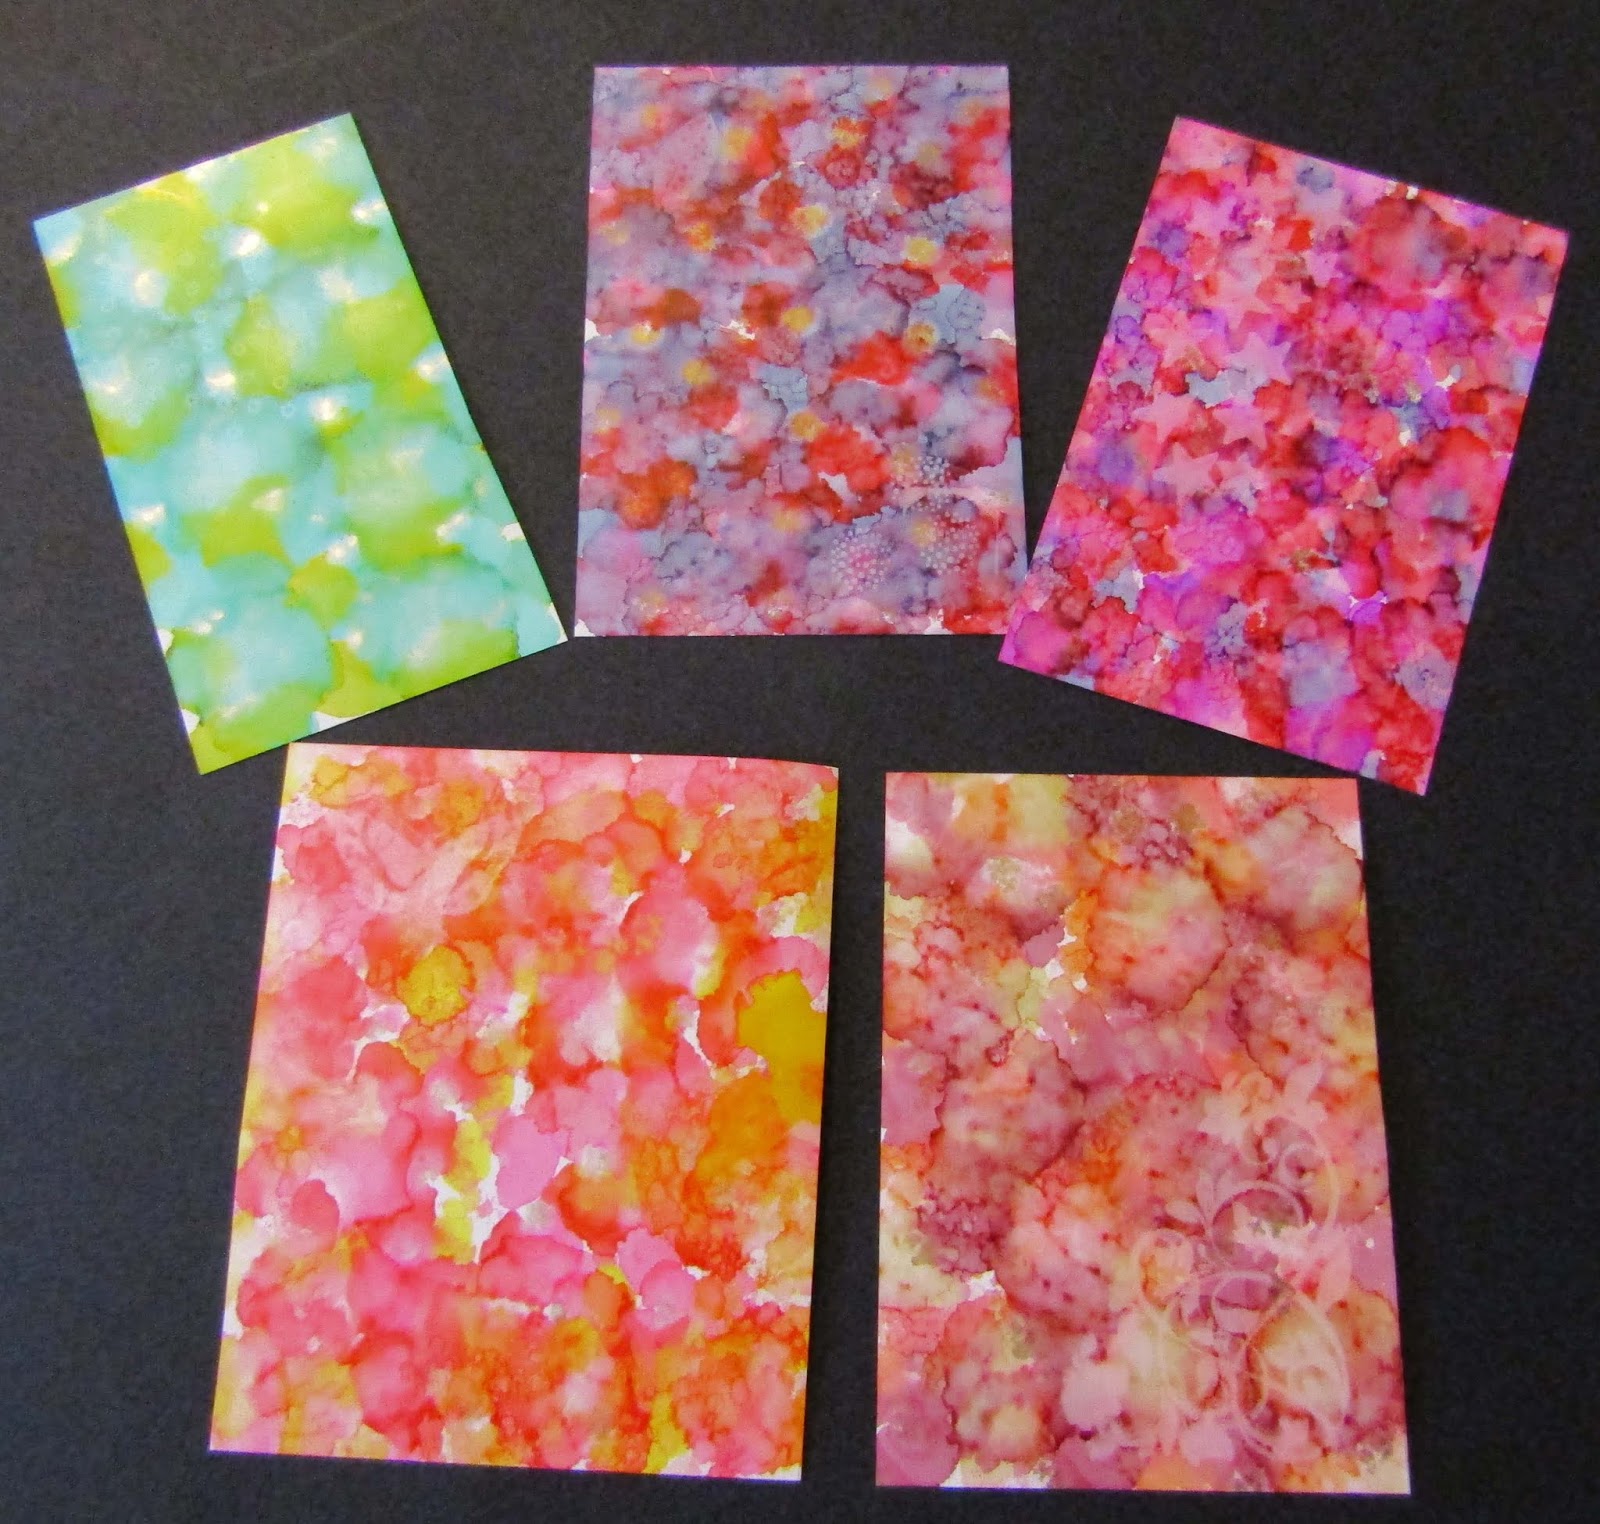
 In other more positive news, I have been enjoying becoming re-acquainted with alcohol inks.  I originally bought them when I was using polymer clay regularly, but since I got sidetracked into other crafts, they had been somewhat forgotten.  I got some Yupo paper (a synthetic paper which the inks sit on the surface of) and some Lift ink, and off I went.  It was exciting to see what the colours would do.  I added some metallics into the mix as well.  I loved the vibrancy of the colours.  (Being alcohol, there are a few safety issues to be aware of - well ventilated room, wear gloves, don't breathe in the fumes and never put alcohol ink or blending solution in a mister to spray - it's flammable and there is resin in the solutions which could get into your lungs). However, all the precautions are more than worth it for the great results (in my opinion).
 These closeups show the effect of the Lift ink, which is applied to a rubber stamp and stamped onto the alcohol ink, holding it on the ink for a few seconds.  The ink lifts off the colour. You can then use the rubber stamp to print onto normal card, which transfers the image with those lovely colours.
The bleaching effect is more noticeable with darker or more intense colours.  I will be doing much more with my alcohol inks now and using what I create in cards and mixed media projects.

Thursday, 3 June 2010

A new project

I have been having the most enormous clear out of the bedroom (something that has been needed for ages!) and after removing eight bags of bits and pieces and donating them to the charity shop, I am feeling very virtuous. The room looks twice as big as it used to and it is a huge improvement. While going through some of the accumulated stuff, I came across this Laura Ashley double duvet cover. I bought it on a whim from a vintage-type shop because I loved the colours and the floral pattern. However, that was when I had a duvet! I now have blankets and quilts, because I like the layers. So, reluctantly, I was going to put it on Ebay. I then had a real lightbulb moment and decided to turn it into a quilt, with a wadding filling and stitching to hold the layers in place. Brilliant - I can be a bit creative as well as making something that I can use and enjoy. It will also be a gentle introduction to quilting as I do want to have a go at a patchwork quilt at some point. I'll let you know how I get on.