Sunday 24 March 2019

More fun with alcohol inks

 I have been playing with my alcohol inks, Yupo paper and lift ink again.  The other experiments can be seen here.  It is really quick to do and I am enjoying experimenting to see what effects I can get. 
 This one has been stamped with the lift ink and then...
 ...the stamp was stamped onto some white paper (this was the back of an envelope!)  Two interesting effects for the price of one!
 I used a stencil and the lift ink re-inker sponged through to create the distorted chess board pattern.  It's quite subtle and I really like it.
This one has been stencilled with swirls using the lift ink and then has been stamped.  I gently heat set the ink as I didn't want to melt the Yupo paper. I may use these for cards as they are, or die cut them.  Whatever they are used for, I think they will work well.

Thursday 14 March 2019

Winter into Spring

 
There are quite a few photos on this post, but when there is so much happening in the garden, it isn't surprising.  The two daffodils above seem to be sharing some gossip.
The crocuses took a while, but have now graced us with their elegant presence...in purple
...and white.
 I love to see primroses - simple but beautiful.
 The blue of a scilla just doesn't show on this photo.
 Then there are the hellebores...speckled pink
 Picotee pink...
 Not sure, but pretty anyway...
lovely pure white...
 ...and the latest addition 'Hello Ruby', not in the border yet but acclimatising to the garden.
 Pale and beautiful narcissus Elka.
 Camellia St Ewe.
 Cardamine Quinquifolia (three flower stems this year and slowly spreading.
 It has been really windy this week, but Spring is on the way.

Saturday 9 March 2019

I don't like rotary cutting but I do like alcohol inks

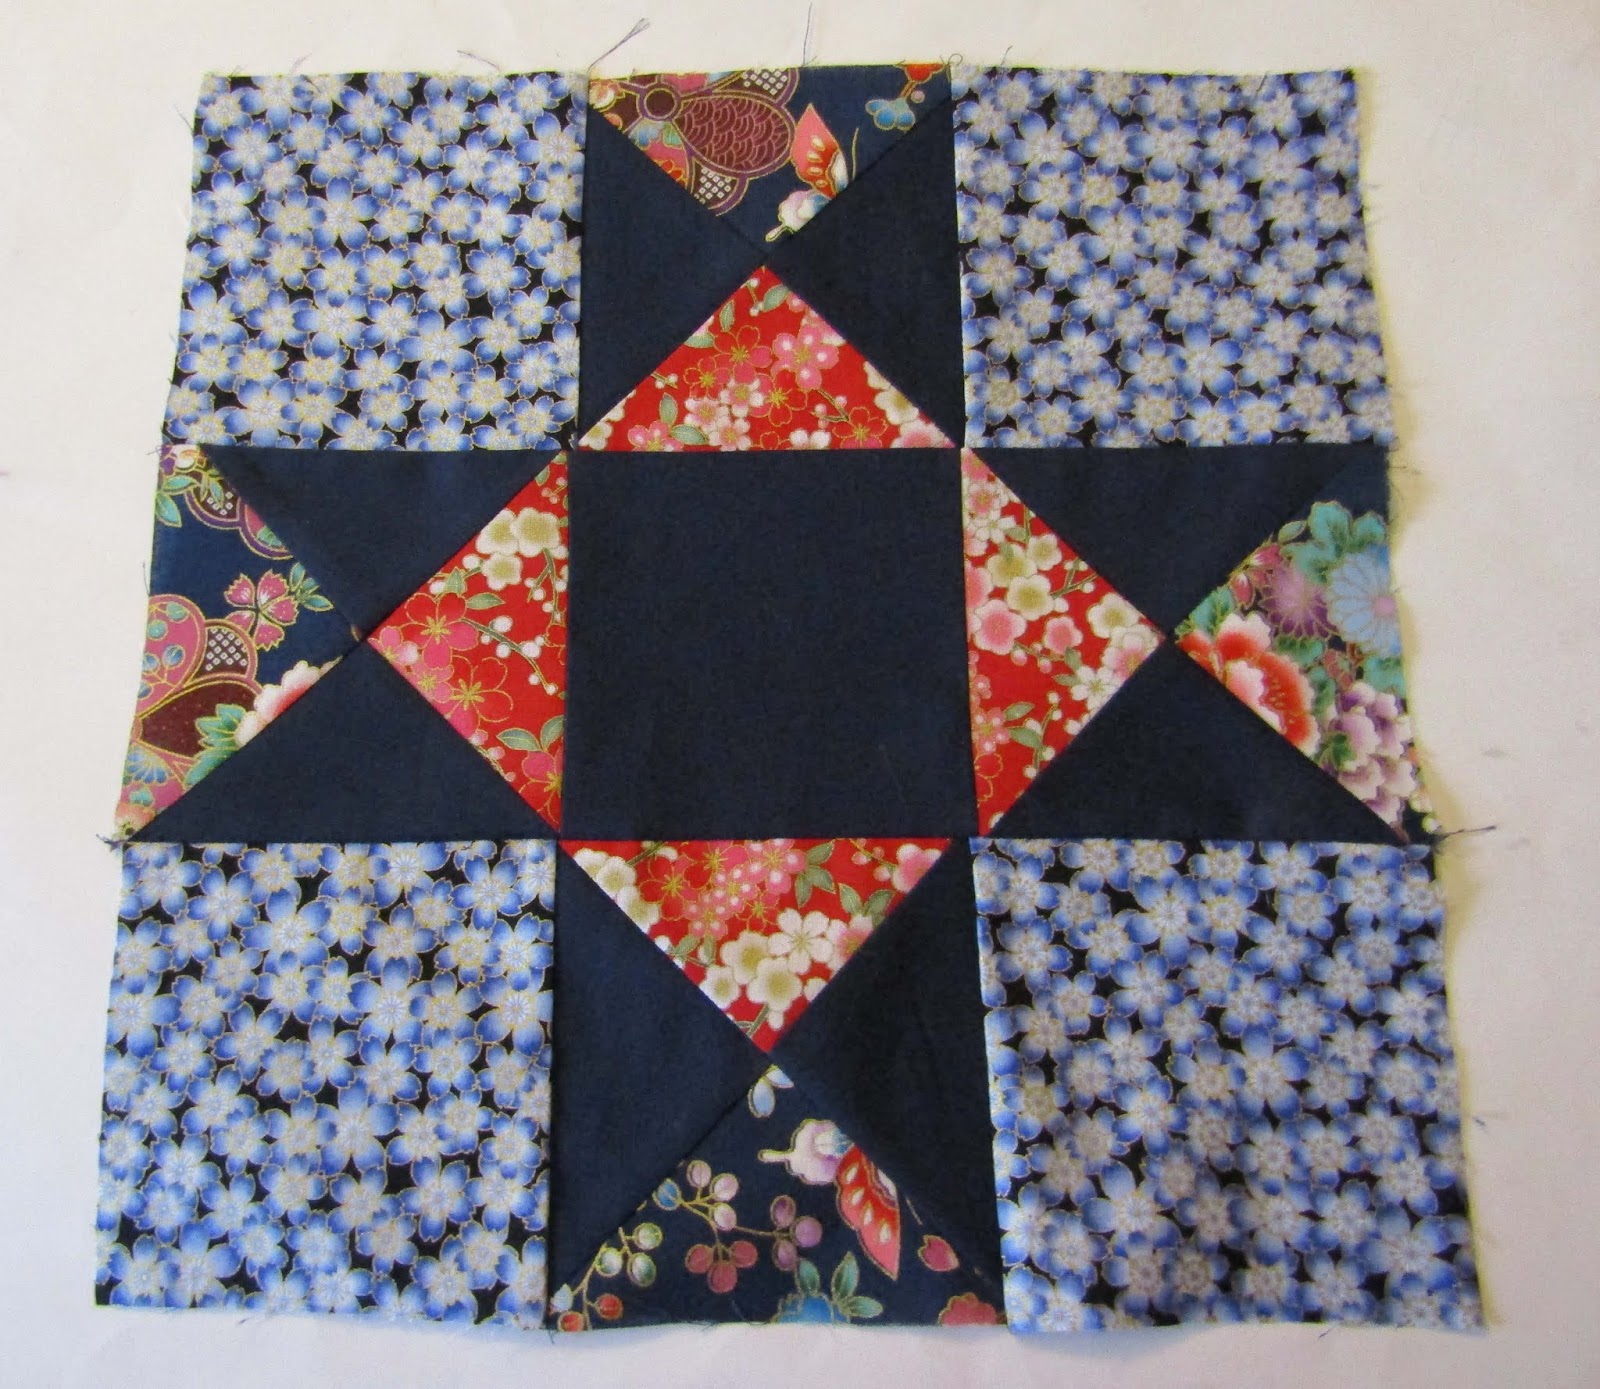
 I have completed the 'Ohio Star' block from the pattern for my first ever patchwork quilt.  I discovered several things from this experience:
1.   I do not like using a rotary cutter.  My ruler kept slipping on the fabric and so I knew that as my cutting was not accurate in the slightest, there was not a hope of my seams lining up, and so it proved to be.
2.   The navy blue contrast material had a surprising amount of stretch in it, which was not helpful when I needed to cut squares diagonally to make half square triangles.
3.   The pattern, although it says it is suitable for a beginner, in my view is a little more challenging than that as it requires quite a bit of rotary cutting (see point 1).
4.    I shall stick to using pre-cuts or jelly rolls for future projects.  (This will remove the issue of point 1).
5.   I shall finish this project as it is a good learning experience, but it will not be perfect in any way.  However, I will still be proud because I made it!
 In other more positive news, I have been enjoying becoming re-acquainted with alcohol inks.  I originally bought them when I was using polymer clay regularly, but since I got sidetracked into other crafts, they had been somewhat forgotten.  I got some Yupo paper (a synthetic paper which the inks sit on the surface of) and some Lift ink, and off I went.  It was exciting to see what the colours would do.  I added some metallics into the mix as well.  I loved the vibrancy of the colours.  (Being alcohol, there are a few safety issues to be aware of - well ventilated room, wear gloves, don't breathe in the fumes and never put alcohol ink or blending solution in a mister to spray - it's flammable and there is resin in the solutions which could get into your lungs). However, all the precautions are more than worth it for the great results (in my opinion).
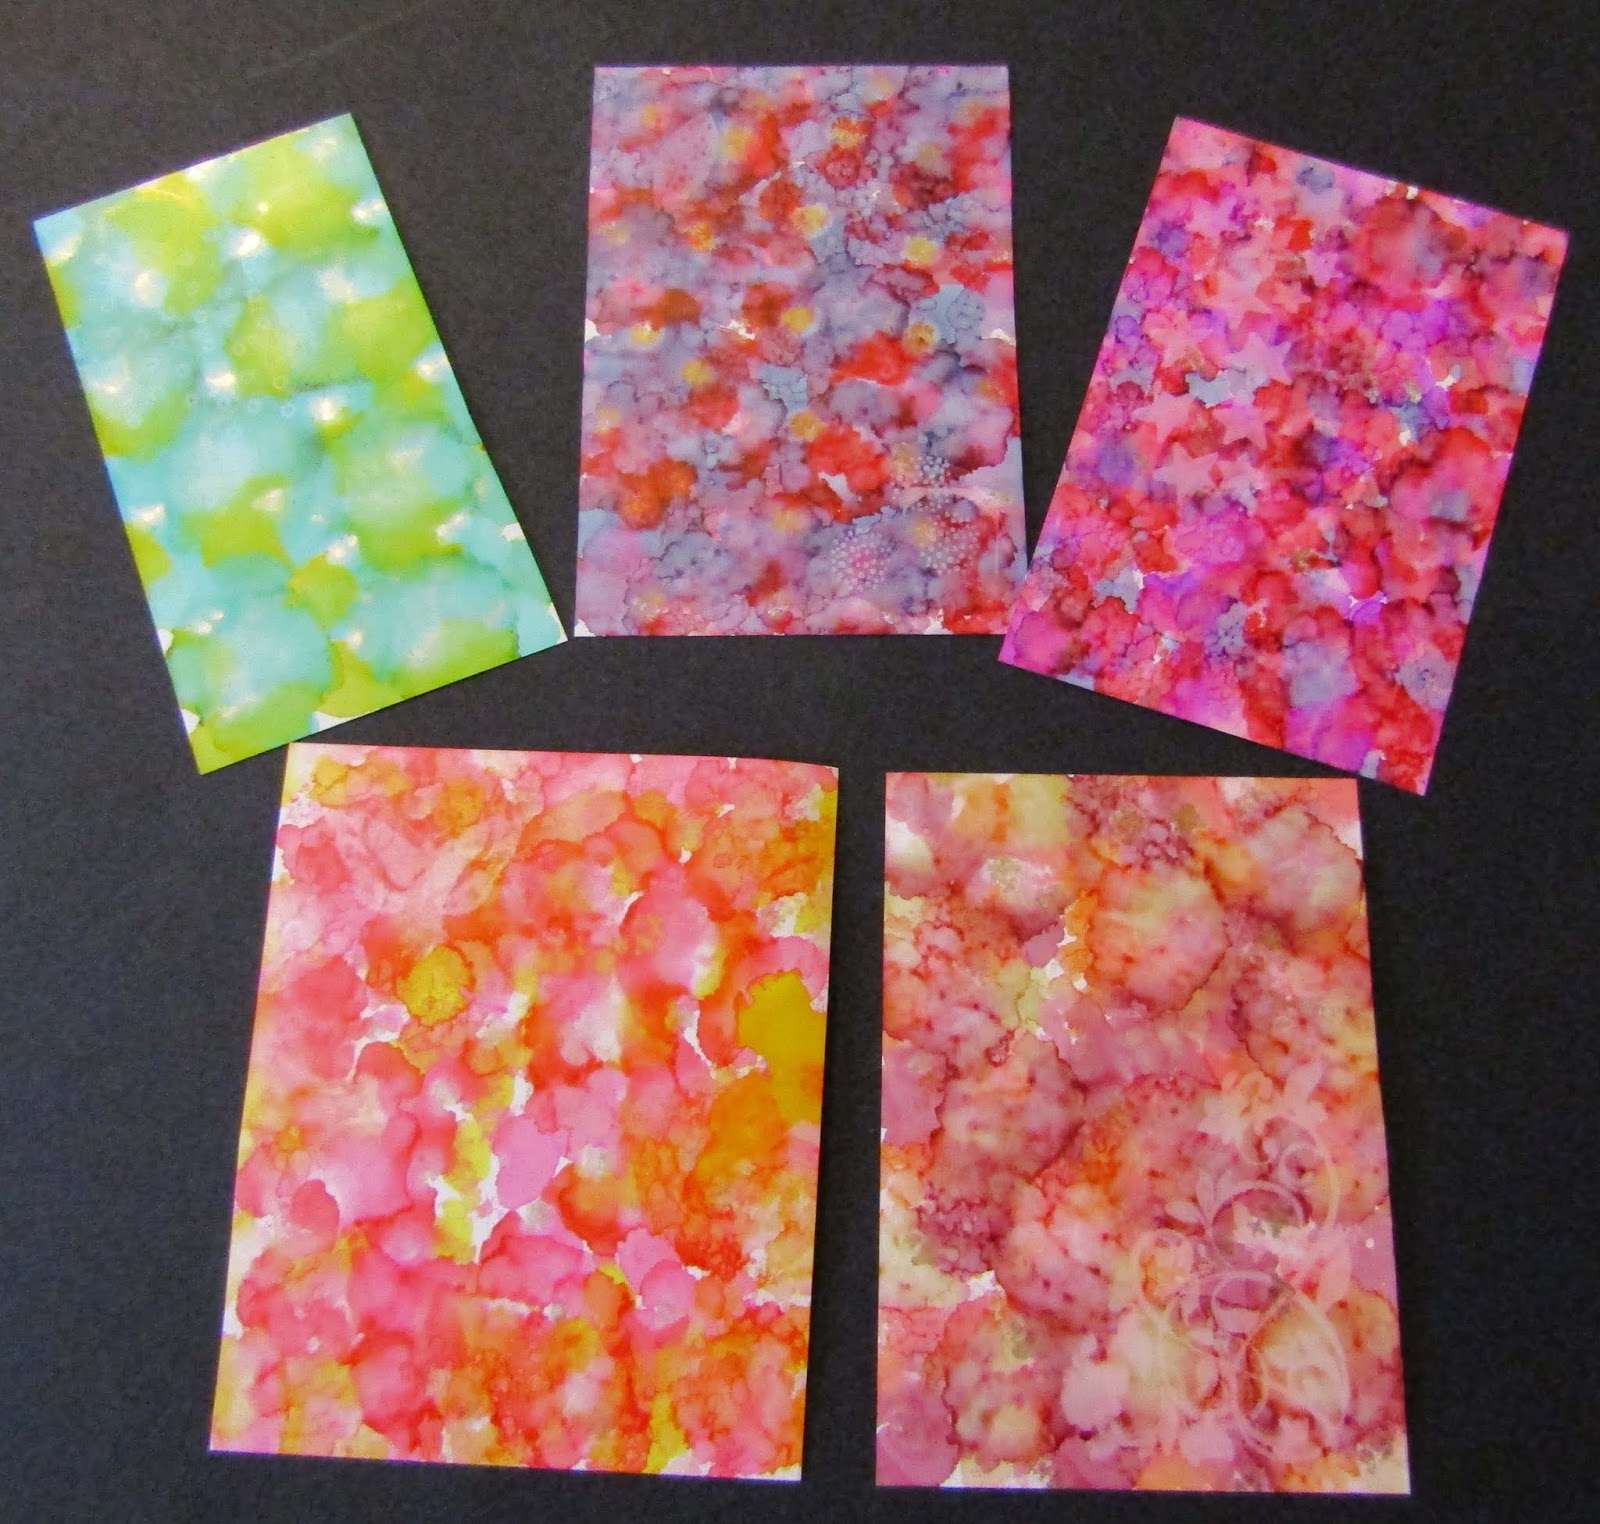
 These closeups show the effect of the Lift ink, which is applied to a rubber stamp and stamped onto the alcohol ink, holding it on the ink for a few seconds.  The ink lifts off the colour. You can then use the rubber stamp to print onto normal card, which transfers the image with those lovely colours.
The bleaching effect is more noticeable with darker or more intense colours.  I will be doing much more with my alcohol inks now and using what I create in cards and mixed media projects.

Saturday 2 March 2019

A couple of finished projects

 I have finished a couple of projects, as the title of the post might suggest (!) and here they are.  The pompom wreath is such a happy looking thing and I am so pleased with the way it has turned out.  I wrapped the wire frame with wool and have tied the pompoms on with the wool from around their centres.  They can be removed/altered as the mood takes me, although they can stay as they are for now.
All those lovely bright colours make me smile.
 This is the other project.  It wasn't on my project list, but I ordered some sparkly ink pads and re-inkers and this storage caddy for them seemed like a good idea.  It was plain mdf, but as I had a tester pot of duck egg emulsion left from painting my card index unit and paper storage shelves, I had to use it.  I cut some rather lovely oriental inspired papers to decorate it and also varnished it too.  It has a slightly distressed look to it which I like.
Here it is with the lid off and the storage compartments for the ink pads and re-inker bottles.  I am planning to have a go with my alcohol inks and lift off ink next, so I hope I can create some rather nice backgrounds.